A dense sourdough loaf is rarely bad luck. Most heavy, gummy slices trace back to one of six things: a starter that never reached peak, a bulk ferment that stopped too early or ran too long, a shape that never built real tension, a dough carrying more water than its flour can hold, or a bake that finished too cool and got sliced too soon.
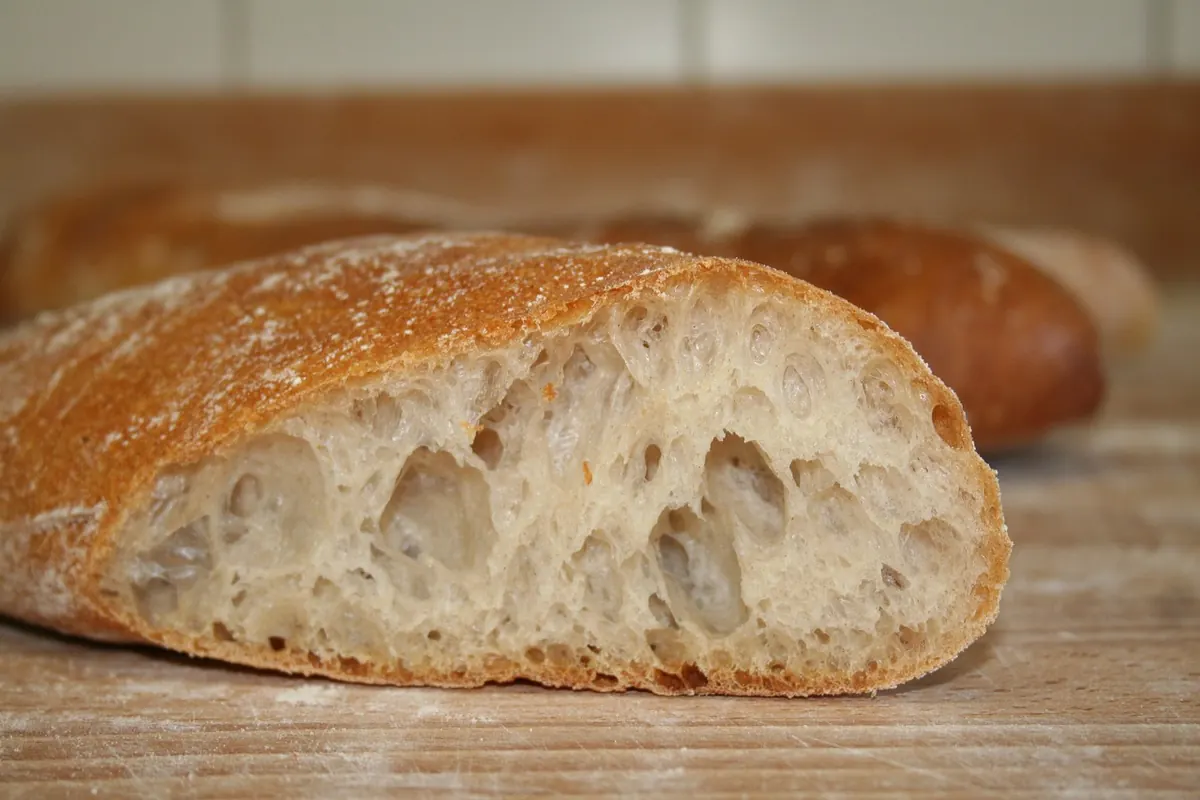
Cut your next loaf and look at the crumb before you blame the recipe. Tight, uniform, slightly rubbery crumb usually means underproofing. A pale, flat loaf that smells boozy and collapses at the edges means the opposite. Read the clues, change one variable at a time, and your bread will improve within two or three bakes.
A starter that bubbles a little in the fridge is not the same as a starter at peak. Inactive starter carries too little yeast and too little acidity to develop gluten and hold gas, and no amount of kneading will compensate. The dough rises sluggishly, then bakes into something closer to a flatbread.
Feed your starter and watch it at room temperature, around 75°F. A strong one roughly doubles in four to six hours, domes slightly at the top, smells tangy rather than sharply of acetone, and holds that height for an hour or so before falling. If yours rises a quarter and stalls, it is not ready.
Bulk fermentation is where flavour and structure develop. Stop it too early and the dough goes into the oven with insufficient gas and a tight, unrelaxed gluten network. The result is a loaf with a thick crust and a dense, damp middle that never quite opens up.
Recipe timings assume a kitchen like the writer's, which is almost certainly not yours. Instead, look for dough that has grown by roughly 30 to 50 percent, feels airy and jiggly when you shake the bowl, shows bubbles on the surface and along the sides, and springs back slowly when poked with a wet finger. If it snaps back immediately, leave it another half hour. If it feels warm and slack and smells sour, you have gone past it.
On a cold day, put the bowl in an oven with the light on, or beside a warm radiator. Check every 30 minutes once it starts moving.
Push bulk too far and the gluten weakens to the point where it cannot hold the gas it has produced. The dough turns sticky and slack, spreads when you turn it out, and smells sharply alcoholic. Shaping becomes a fight, and the baked loaf is flat with a gummy, tunnelled crumb.
Two fixes work well here. First, cut bulk short by 30 minutes on hot days, or drop the dough temperature by using cooler water. Second, shape and then retard the loaf in the fridge for 8 to 16 hours at around 38°F. Cold slows the yeast, firms the dough, and gives you a much wider window before baking. Bake straight from the fridge; there is no need to warm it up.
Shaping is where structure is either built or lost. A loose shape leaves folds and gaps that bake into dense, compressed layers — often along the bottom of the loaf. Tension is what keeps the dough rising upward instead of outward.
Preshape lightly, cover, and rest for 20 to 30 minutes until the dough relaxes. For the final shape, keep the bench flour minimal: a thick dusting stops the layers sealing to each other. Fold the dough toward you, press the seam with the heel of your hand, then drag the ball across an unfloured patch of counter to tighten the surface. If it spreads within minutes of shaping, it was overproofed or undermixed, not badly shaped.
A wet dough is not automatically a better one. High hydration only works with strong flour — bread flour in the 12 to 13 percent protein range. Use a weaker all-purpose flour with a wet dough and the gluten simply cannot support the structure, so the loaf spreads and the crumb turns custardy.
If your dough is soupy before shaping, hold back 5 to 10 percent of the water next time and add it only if the dough feels tight. Whole grain and freshly milled flours absorb more water and ferment faster, so expect to add liquid and shorten bulk. Keep notes on what you actually used; that record is more useful than any recipe.
An underheated oven gives you a pale crust and a doughy centre. Preheat a Dutch oven for 45 to 60 minutes at 450°F to 475°F, bake covered for the first 20 minutes to trap steam, then uncover until the crust is deeply coloured. A loaf pulled at 200°F internally often looks done and tastes raw.
The last mistake is impatience. Cutting a hot loaf releases steam that is still setting the crumb, and the slice you pull out looks dense and pasty even when the bread is fine. Wait at least an hour; two to three is better. The loaf keeps improving as it cools.
Pick one of these at a time. Fix the starter first, since everything downstream depends on it, then dial in your bulk timing. Within a few bakes you will be reading the dough rather than the recipe, and the dense loaf will be a memory.
Photo: Lebensmittelfotos / Pixabay